The African Violet Decapitation Technique: A Beginner’s Guide to Fixing a Long Neck

I’ll be honest, “decapitation” is a dramatic word for what is actually a pretty gentle rescue technique. But that’s exactly what African violet growers call it, and the first time I tried it, my hands were shaking a little too. If you’ve got a violet with a long, twisted neck, or one that’s really struggling with root rot, this is a technique worth having in your back pocket.

What is Decapitation, Exactly?

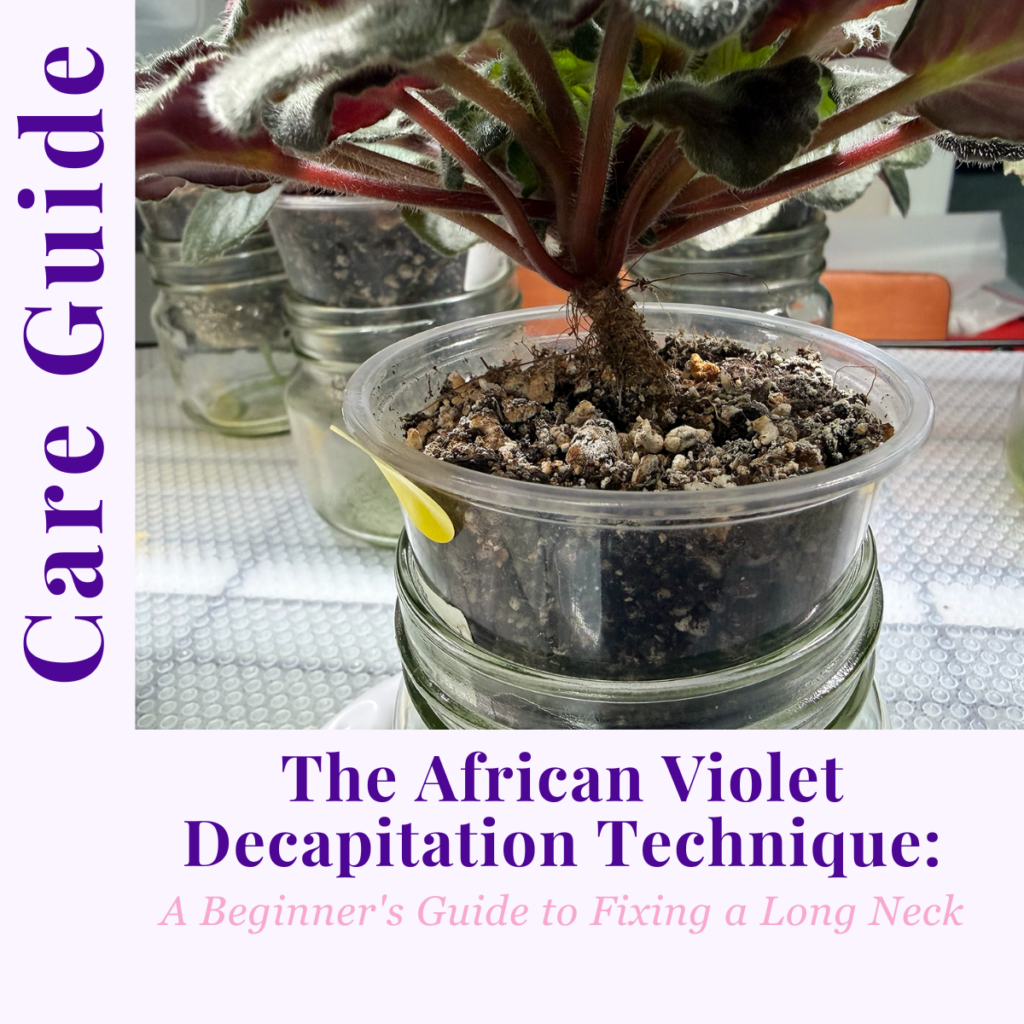
Over time, as the lower leaves on an African violet naturally drop off, more of the stem becomes exposed. That exposed stem is called the “neck”. On older plants it can grow long, curved, or twisted. Decapitation means cutting off that stem, along with the old root system attached to it, and repotting just the top crown of the plant. This way, the plant will grow an entirely new, fresh root system right from the base of the remaining stem.
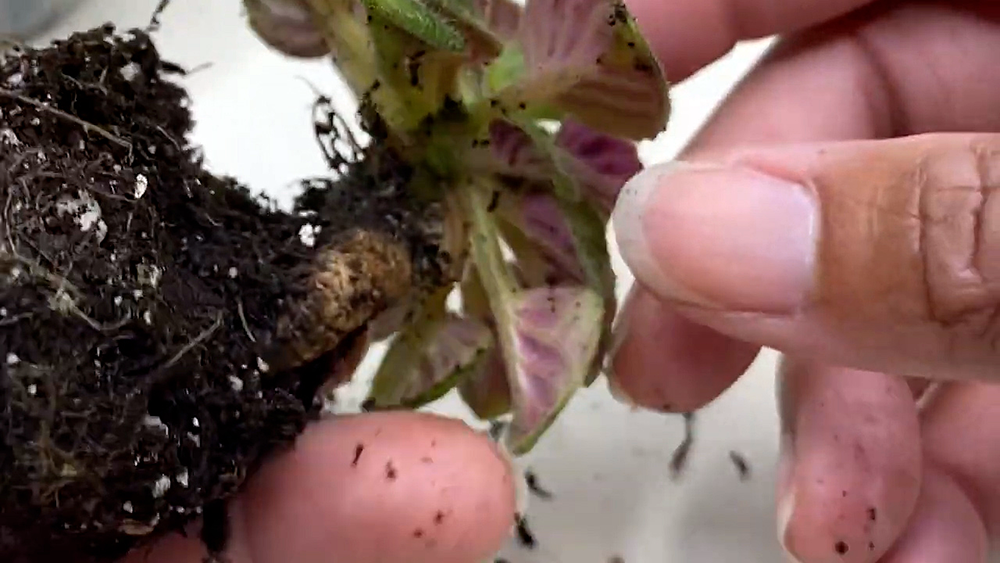
It sounds intense, and it kind of is. But it works because it forces the plant to stop trying to maintain old, tired roots and put all of its energy into building new ones instead. And it will also prevent those older roots from rotting and transferring the rot to the rest of the plant.

When You’d Actually Use This

There are two main scenarios where decapitation makes sense:

A long or twisted neck. If your violet’s neck has gotten so long or curved that it’s becoming difficult to pot normally, cutting it back and letting the plant regrow roots can straighten things out and make it manageable again.

Severe root rot. If the roots are largely dead but there’s still a healthy green stem left, decapitation can be a last-ditch way to save the plant. You cut away the rotted section, keep the healthy green stem, and let it regrow roots from scratch.

Some growers also do this proactively on violets that came from another collection, as a way to avoid bringing in soil-based pests along with the old root ball, or on older plants that just seem to be losing vigor.

How to Do It

Start with a clean, sharp blade. A fresh X-Acto knife blade, a razor blade or a sharp knife makes a much cleaner cut than a dull one, and a clean cut matters here.

Before you cut, reduce what the plant has to maintain. Remove any blooms, flower buds, and a reasonable number of older leaves if any. The goal is to minimize how much energy the plant has to spend once it’s focused on growing new roots. Don’t go overboard, though; you still want enough leaves left for the plant to photosynthesize and support itself.

Choose where to cut. You’re aiming to cut back the exposed neck to a length that will comfortably sit in a small pot, while removing the old root ball entirely. Make the cut while the stem is still green.
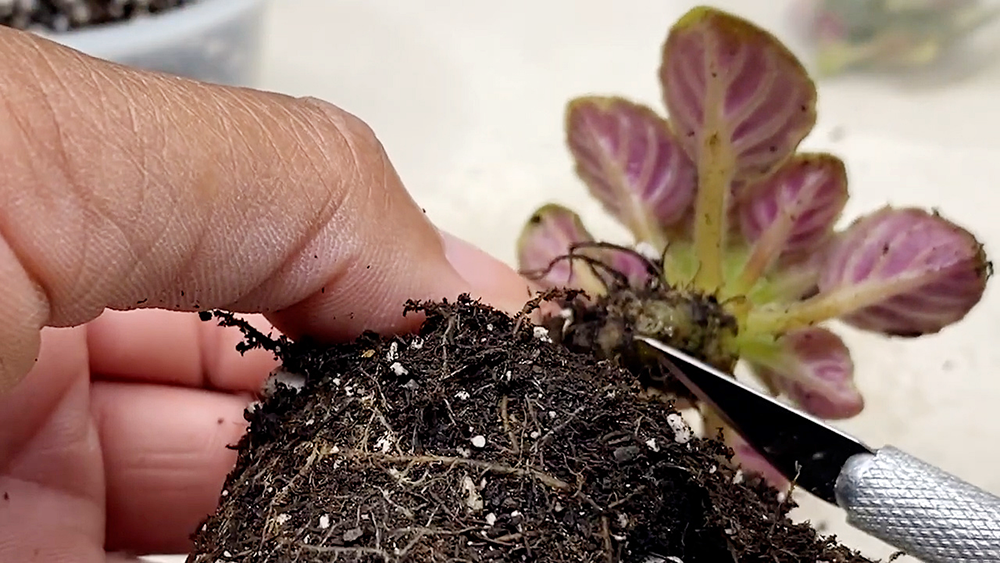
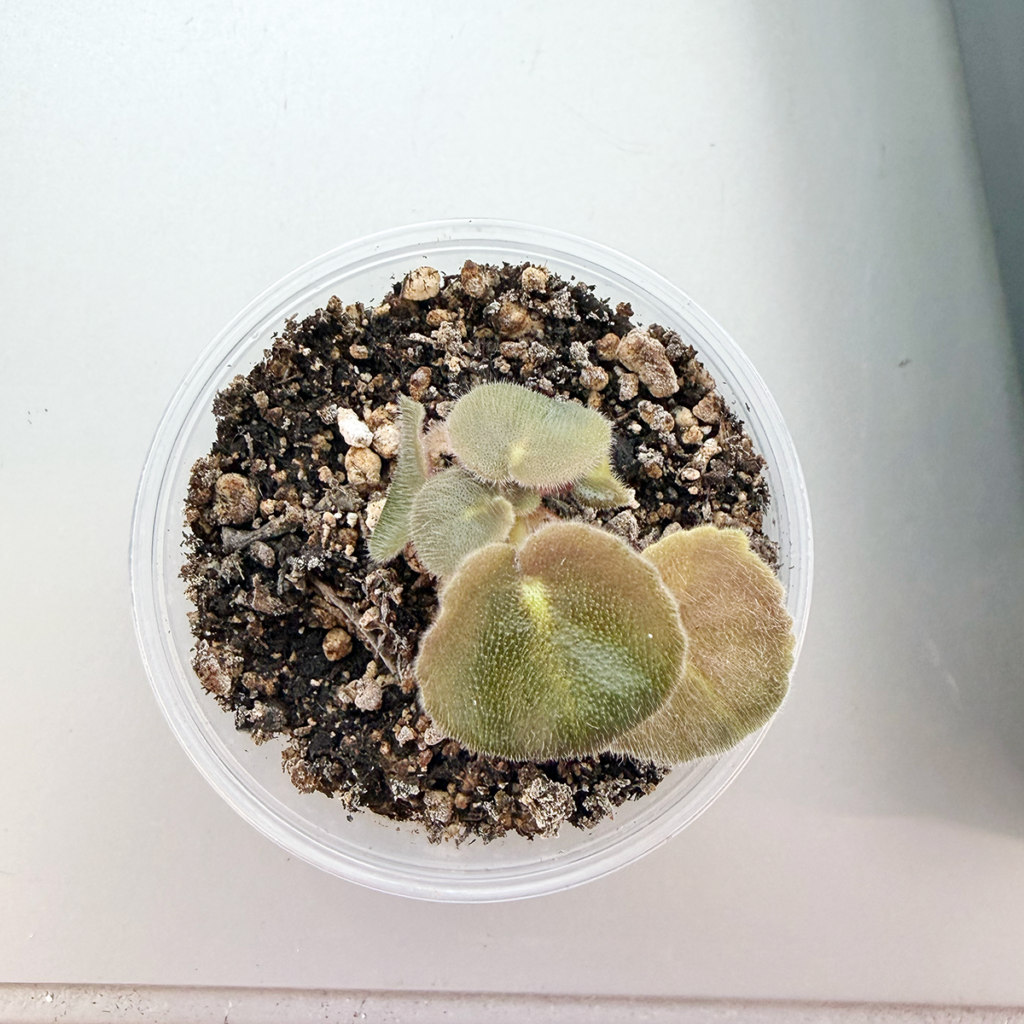
Repot immediately. Use a small container, sized for the amount of plant you have left, not the size you’ll eventually want to grow into. A pot that’s too big holds too much damp soil around a rootless stem, which invites rot. Add a little fresh potting soil with systemic insect control mixed in, and settle the stem into the soil.

Water and bag it. Water with a lightly fertilized, calcium and magnesium supplemented solution if you have it, then place the whole pot in a plastic bag to hold in humidity while new roots establish.
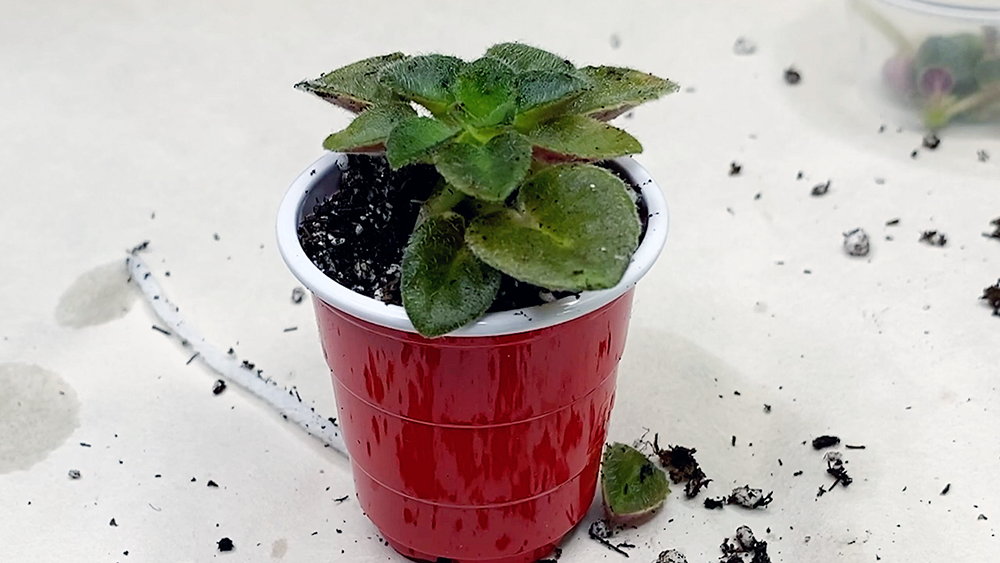
Before you make the cut, take a few leaves off the plant to propagate separately as backup. Decapitation doesn’t have a 100% success rate, and having a couple of leaves rooting on the side means you won’t walk away empty-handed even if the main plant doesn’t make it.

PRO TIP: I’ve also had some success rooting the decapitated crown in water and allowing it to grow roots first before transferring to soil. I usually do this for plants that have had severe root rot that I’m nervous about returning to a high humidity environment, which can help accelerate any unseen rot that hasn’t been removed. Strangely enough, submerging a plant stem in water doesn’t seem to invite as much rot as damp soil does. Just be sure to use distilled water when trying this process.

What to Expect Afterward

Keep the plant bagged and under your regular lights, checking in periodically. Within a few weeks you should start to see small new roots forming right at the base of the cut stem. Resist the urge to dig around and check too often, a gentle tug now and then to feel for resistance is enough to confirm progress without disturbing what’s developing.

Plan to keep the plant bagged for about a month, sometimes longer. When it’s time to bring it back out into your regular humidity, do it gradually: open the bag partway for a few days first, rather than removing the plant all at once, to avoid stressing it.

If successful, you should start seeing solid new growth. Once the plant is settled, you can repot it into its more permanent container, removing the old wick and refreshing the soil at the same time. Taking the plant out of the pot will give you the chance to check the new root ball, which should contain lots of nice healthy white roots. Give the plant a little cleanup while you’re at it and remove any older, tired-looking bottom leaves.
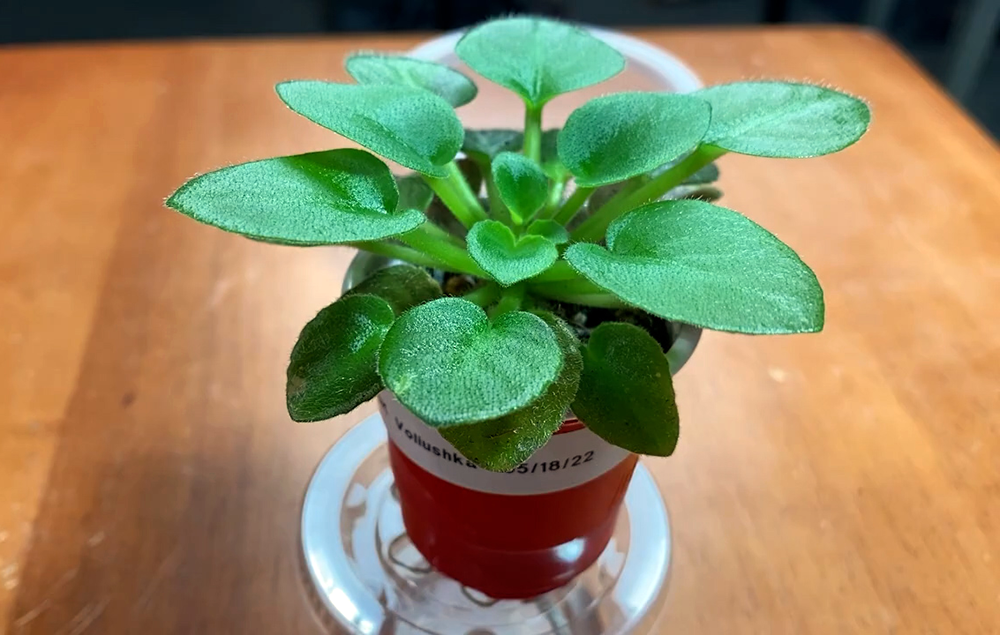
Is It Risky? Yes. Is It Worth it? Often

This isn’t a guaranteed fix, and some plants do react badly to being cut back this hard. But for a violet with a genuinely unmanageable neck, or one that’s already circling the drain from root rot, it’s often a better shot than doing nothing. Once you’ve done it successfully once, it gets a lot less intimidating to try again on another plant that needs it. I’ve gone from being a nervous first timer to a seasoned veteran that regularly decapitates struggling violets during repotting sessions without a second thought.

Want to see the entire process from that first nerve-wracking cut to the refreshed plant with healthy new roots? Head over to my YouTube channel and watch Beginner’s Guide to African Violet Care: Mastering the Decapitation Technique for Healthier Violets. Have you ever tried this on one of your own violets? Tell me how it went in the comments!
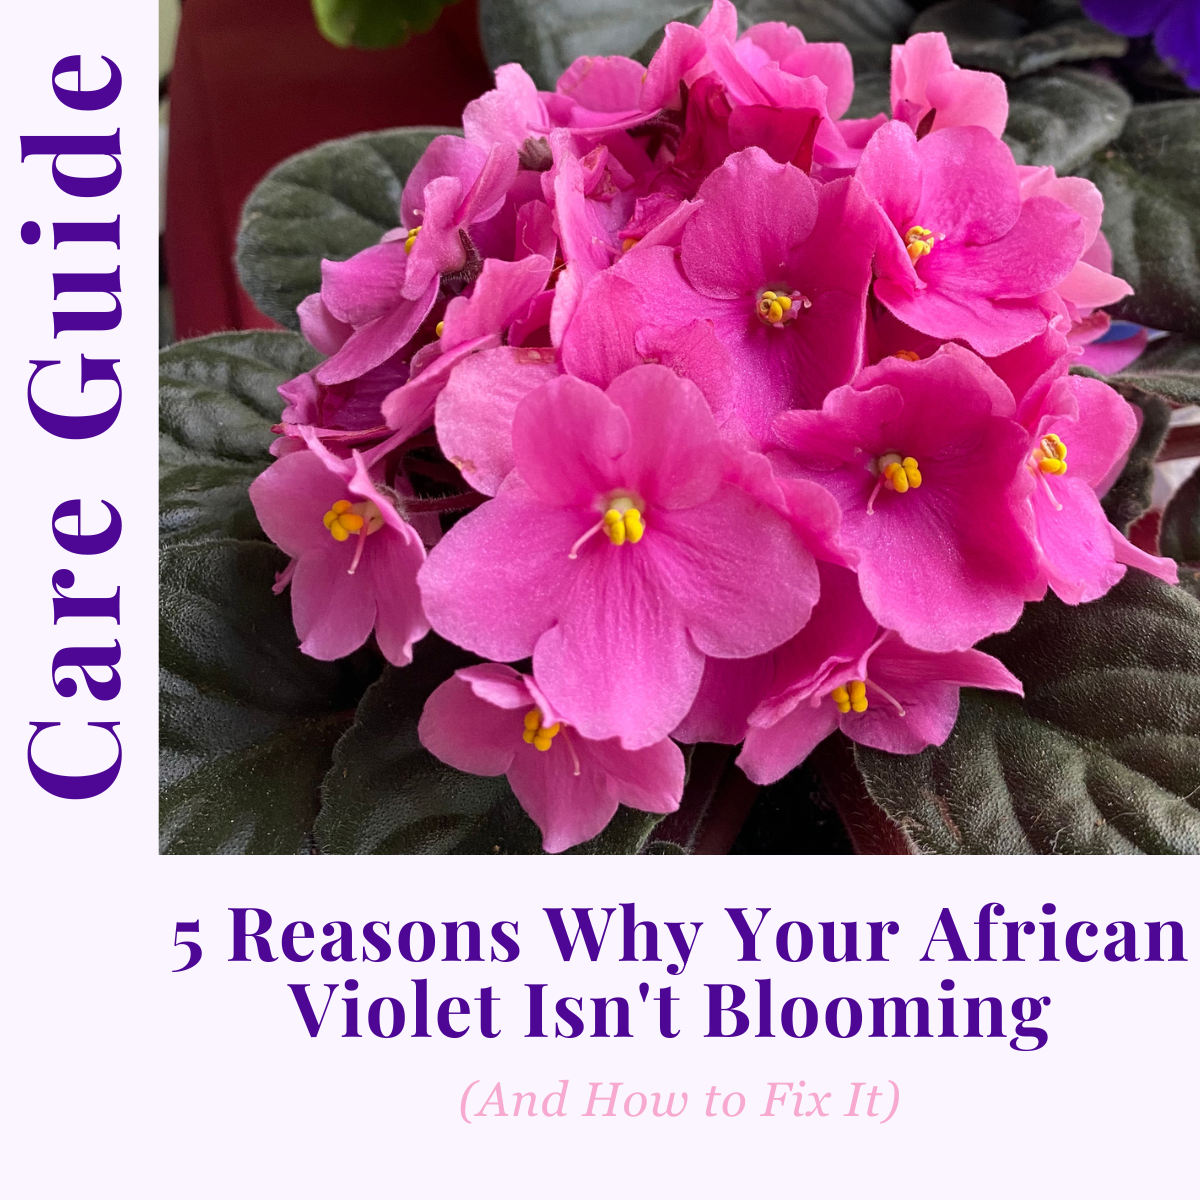

5 Reasons Why Your African Violet Isn’t Blooming (And How to Fix It)

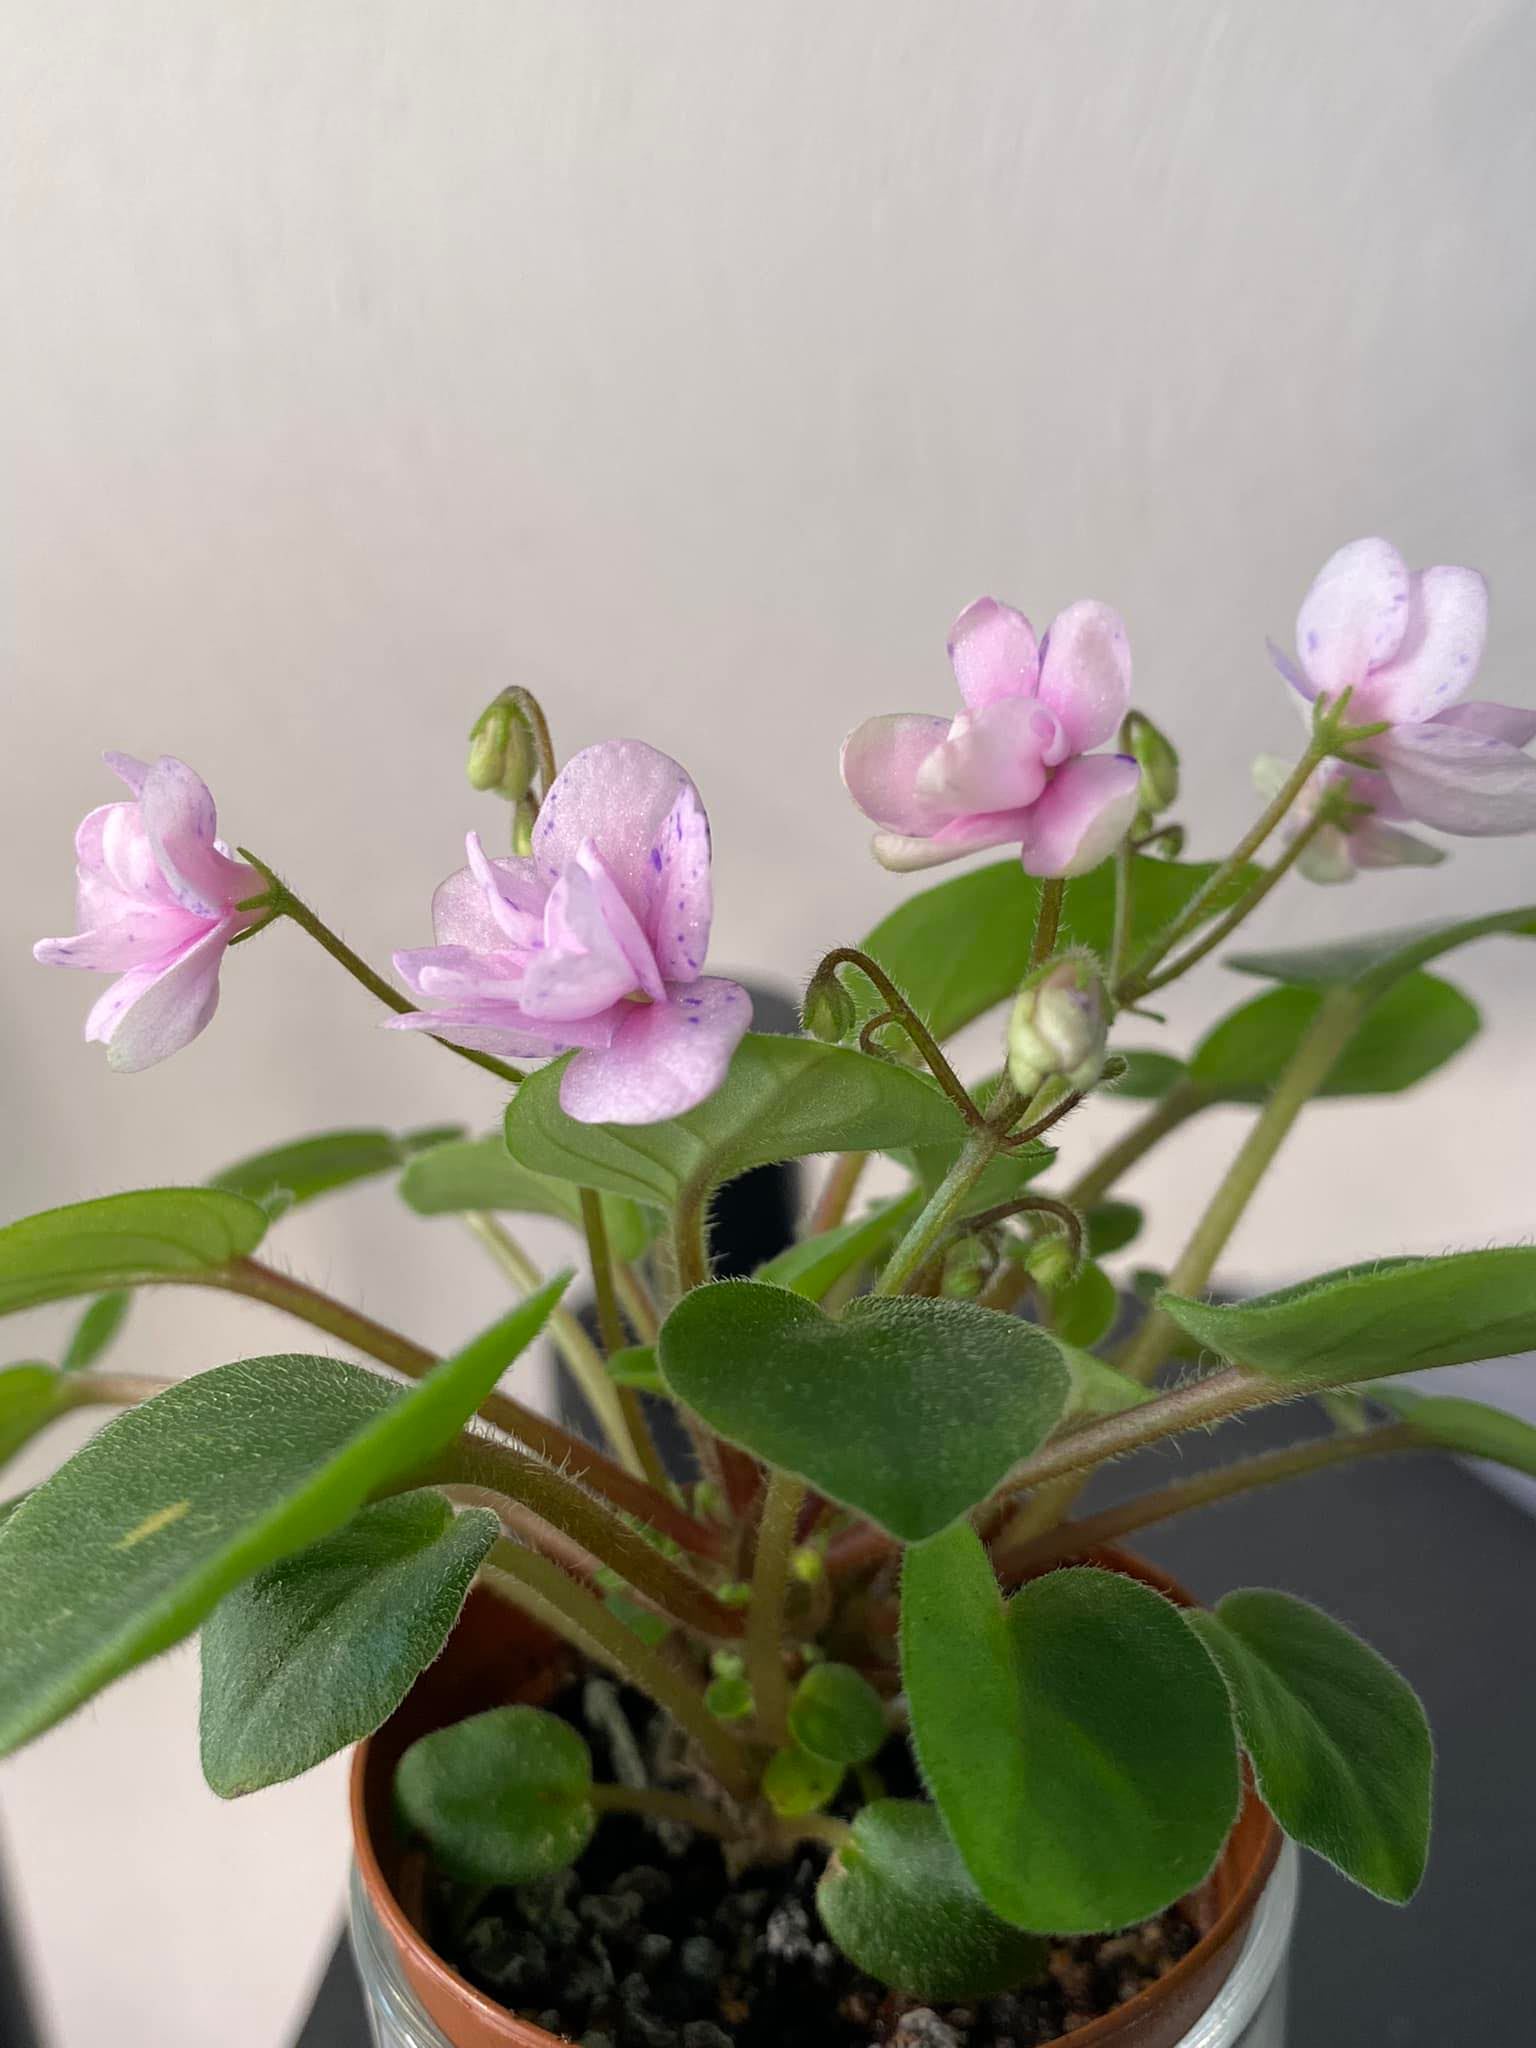
I’ve been there. In fact that’s how I got hooked. You spot a gorgeous African violet at the garden center, absolutely smothered in blooms, and you think — yes, I’ve got to have that one. Fast forward a few months later and the flowers are long gone, the leaves look fine, but there are no flowers to be seen…not even a hint of a bud. And you’re standing there wondering what you did wrong.

A comment I always get after friends and family visit my plant room and see dozens of violets in bloom is, “How do you get them to bloom? I’ve tried it, and they’ve never bloomed for me”. 

Here’s the good news. African violets aren’t really that hard to figure out once you learn what they like. They have specific conditions in which they will bloom and oftentimes, bloom profusely. And they are not difficult conditions to manage. Once you learn them, you’ll be rewarded with beautiful blooms all year round.

These are the five most common reasons I’ve seen — and experienced myself.

1. It’s Not Getting Enough Light

This is the big one, and it surprises people every time. A lot of newbies I’ve met either heard that AVs are low-light plants or that they can’t be in direct sunlight. It’s true that violets can’t be in bright direct light as it will discolor or burn their leaves. And it’s true that violets could exist in low light. But, there’s a difference between tolerating lower light and actually thriving in it. If you want blooms, your plant needs more light than you probably think.

Bright indirect light is the sweet spot — a few hours a day near an east- or west-facing window is ideal. A dim corner or a shelf far from any window? Your violet will survive, but it probably won’t flower.

If natural light is limited where you live, a grow light is genuinely worth it. This was the case in my old house and once I switched over to LED grow lights, the blooms kept on coming. I keep mine about 12 to 18 inches above the plants and set them on a timer to run about 10 to 12 hours a day.

Quick tell: If the leaf stems are stretching upward instead of lying relatively flat, your plant is likely reaching for more light. Move it closer to a window and see what happens. Incidentally, some violets do the same thing when the light is too strong…the leaves stretch inward to protect the center crown. The best thing is to adjust and observe until you find the right amount of light.

2. Fertilizer — Either the Wrong Kind or None at All

If you’ve grown other plants before, you may be used to only fertilizing your plants once or twice a year, or even not at all. This one got me early on too. The only other plant I’ve not killed was an orchid that I barely remembered to water. So I certainly wasn’t fertilizing it on a regular basis or, you know, at ALL. I assumed that as long as I was watering my AVs, they were fine. Nope! Blooming takes real energy, and if you haven’t fertilized in a while — or ever — that’s very likely part of the problem.

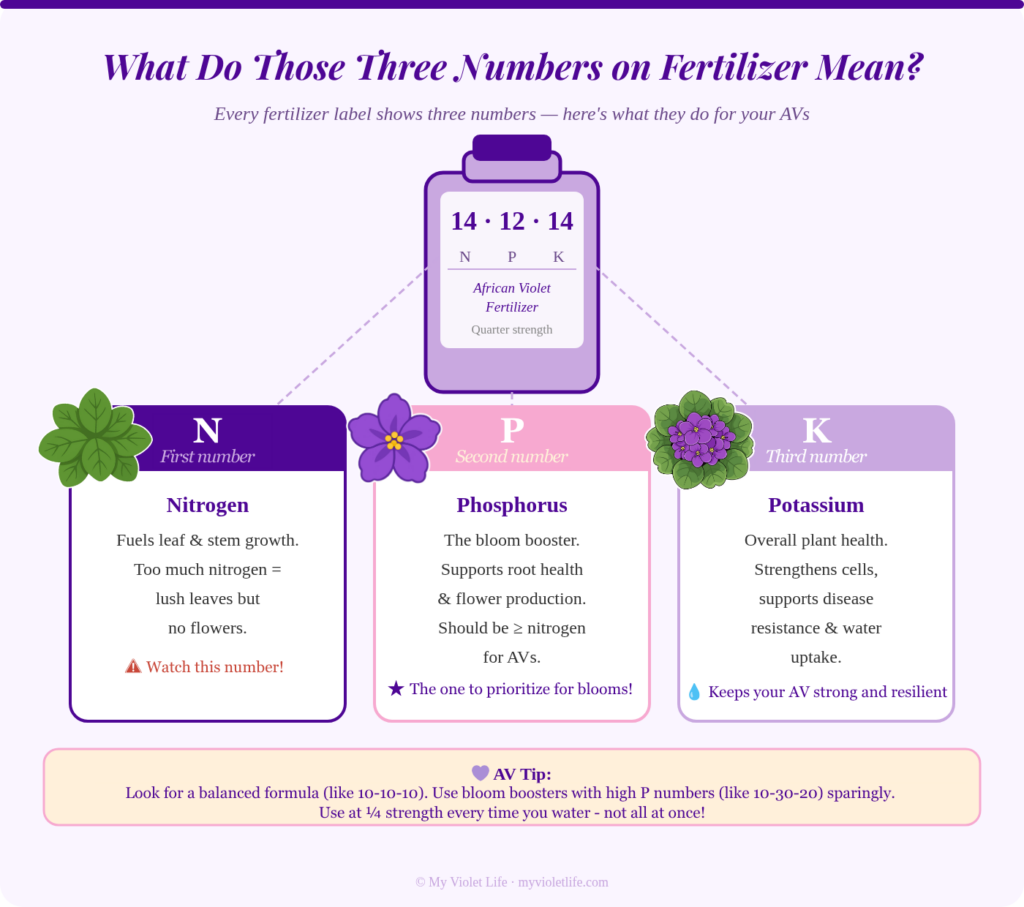
But here’s where it gets a little tricky. Fertilizer has three components that plants need in different amounts: nitrogen, phosphorus, and potassium. If you look at a bottle of fertilizer, you’ll see three numbers which show the ratio of these components, for example; 12-8-12. The first number represents nitrogen, the second represents phosphorus, and the third represents potassium.

For African violets: fertilizers with a high first number, nitrogen, actually works against you. High-nitrogen fertilizers push out beautiful leafy growth, which sounds great until you realize you’ve got a lush, gorgeous plant with zero flowers to show for it.

What you want is a fertilizer where the phosphorus — the middle number on the label — is about equal to or higher than the nitrogen. Once I learned this, I started off with Schultz’s African violet liquid fertilizer, which is usually widely available at your local garden center. After some trial and error, I eventually settled on using the African violet-specific formula from Optimara for all of my plants. Some of my African violet club members also use mixes formulated for orchids as well, but Optimara’s fertilizer has worked pretty consistently for me. I mix about ⅛ to ¼ teaspoon of fertilizer to a gallon of water and fertilize every time I water rather than doing a full dose every month. Little and often is the way to go AND it’s easy to keep up with.

You may also see fertilizers that have a very high middle number like 10-30-20 or 12-36-14. These are known as “Bloom busters”. Can you use these for your plants? 

Short answer: “Yes, but”. 

Longer answer: Yes if you need your plant to bloom profusely at a specific time (like a show),  but I wouldn’t recommend using them in the long term. These formulations prioritize heavy blooming over healthy growth which can stress your plant if you use it for months on end. It’s better to use a formula that’s more balanced so that you can have blooms AND healthy foliage, which makes for a healthy, happy plant.

Note: if you fertilize every time you water, be sure to occasionally flush out your violet with plain water about every 4 to 6 weeks. This will help to keep the fertilizer salts from building up the soil which can damage the roots.

3. The Pot Size Is Off

African violets can be pretty particular about their pots, and getting the size wrong — in either direction — can affect blooming.

A common AV newbie mistake is picking a pot that’s way too large for the plant. If you’ve grown plants before…or even if you haven’t, it’s an understandable mistake to make. But it can be one that at best, prevents your violet from blooming, and at worse it can put your violet in danger.

Please don’t do this.

If the pot is too large and your violet is swimming in a sea of soil, two things can happen…and blooms aren’t one of them. One, your violet puts most of its energy into filling that sea of soil full of roots. Violets tend to start blooming once their roots reach some kind of obstruction, like the pot walls. That’s an indication to the plant to shift its focus from growing roots to growing blooms. Second, a sea of damp soil is dangerous to the health of your violet roots. AV roots are pretty delicate and prone to rot if submerged in wet soil for too long.

On the other hand, a plant that’s severely root-bound is stressed, plain and simple. A slightly root-bound violet will tend to bloom. A violet that has roots circling the bottom of the pot or pushing out the drainage hole is typically in survival mode. It’s not going to put energy into flowers.

The rule of thumb I follow: the pot should be roughly one-third the diameter of the plant. When in doubt, check the drainage hole. If roots are escaping, go up one size — JUST one. OR if you want to keep the violet in the same pot, you can carefully trim the roots at the bottom and sides of the root ball. You can check out my video on repotting for more information on pot sizes and how to properly pot your violet.

4. Watering Problems

I feel like watering is where most of us mess up at some point, myself very much included. African violets are not drought-tolerant, but they’re even less tolerant of sitting in soggy soil. Overwatering is the more common mistake.

When roots stay wet too long, they can’t absorb nutrients properly — and a plant that can’t absorb nutrients isn’t going to put out blooms. In the worse case, overwatering leads to root rot, and at that point you’ve got bigger problems than no flowers.

Underwatering causes stress too…it tends to be less fatal than overwatering. But a thirsty plant is just trying to survive…it’s not going to waste energy it doesn’t have by making lots of flowers.

The fix: water when the top inch of soil feels dry. Just stick your finger in the soil and feel. I bottom water whenever possible — I set the pot in a tray of room-temperature water for about 20 to 30 minutes and let it soak up what it needs. Then I take it out and let it drain.

And remember — room temperature water only. Cold water on the leaves causes those white spots and burn marks you might have noticed, and cold water at the roots is a shock the plant doesn’t need.

5. The Environment Isn’t Quite Right

African violets like comfortable, stable conditions (the key word here is stable) — around 65 to 75°F, away from drafts, away from heating and air conditioning vents, and with decent humidity. They’re not asking for much, but they do notice when things aren’t right.

Dry air is a sneaky killer of flower buds. In the winter especially, when the heat is running constantly, indoor humidity can drop pretty significantly. Low humidity can cause buds to form and then dry up before they ever open. I find that especially heartbreaking and frustrating — you’re eagerly watching flower buds grow and they simply dry up and shrivel away before they even get big enough to open.

A humidity tray is an easy fix — just a shallow tray with pebbles and a little water set underneath the pot. The water evaporates around the plant without the pot sitting directly in it. I’ve also found that grouping plants together helps raise the humidity around them naturally. If you don’t have a lot of plants around, you can also try doming your violet…that is, putting them under plastic or glass dome to help keep the humidity in. Just be sure to watch sides of the dome. If it starts getting large drops of condensation on the inside, open it slightly to let some of the humidity out and dry off the leaves if they start getting drops of water on them. You don’t need too much of a good thing.

So Where Do You Start?

If your African violet isn’t blooming and you’re not sure which of these is the culprit, start with light. It’s the most common issue, and it’s the easiest thing to adjust. Move the plant, give it a few weeks, and see if anything changes before you go troubleshooting everything else at once. There are some varieties out there that are genuine prima donnas that refuse to bloom unless they’re grown in exacting conditions (drop into any AV group and ask…you’ll get a list). But 99% of violets aren’t that hard to please.

These plants are a lot more resilient than they sometimes get credit for. They’re not demanding, they just know what they like and what they like isn’t that hard to provide. More often than not, a non-blooming violet just needs one thing fixed — and then it rewards you in a big way.

Have you dealt with a violet that just refused to bloom? I’d love to hear what ended up being the fix for you — leave a comment and let me know!

And if you want to see more African violet care tips, come find me on YouTube at My Violet Life — I’d love to have you over there too.